Migrating a python app to AWS lambda as is; without code change.(02 June 2018) Intro AWS Lambda lets you run code without provisioning or managing servers. In this article, we will go through an example of how to migrate a python application to AWS lambda. Of importance to note is that; we will not make any significant code changes to our app in order to migrate it. You may have heard of Python frameworks that help you write python code targeted for running on AWS lambda. for example; Chalice or Zappa. A drawback of those frameworks - in my opinion - is that they require you to change the way you architect your applications. They require you to make code changes to suit their way of things. In this post we wont do any of that, you will keep your familiar architect/code and still get to run your app on lambda. - We will create a small python/django app from the ground up, using the same old familiar django pattern. - We will then run that app on AWS lambda. Create django app. The app we will build is a simple one. It is a website uptime checker. It makes a http request to google.com and twitter.com, checks whether they are up or not and reports the same. We'll create a new directory for our app, create a virtualenv, install django and also create a requirements file with the installed packages.
mkdir uptime-checker && \
cd uptime-checker && \
virtualenv .uptime-checker && \
source .uptime-checker/bin/activate && \
pip install django && \
pip freeze >> requirements.txt
import os

def here(*args):
    return os.path.join(os.path.abspath(os.path.dirname(__file__)), *args)

PROJECT_ROOT = here('')
def project_root_joiner(*args):
    return os.path.join(os.path.abspath(PROJECT_ROOT), *args)

ALLOWED_HOSTS = '*'
SECRET_KEY =  'A-random-and-secure-secret-key'
ROOT_URLCONF = 'urls'
WSGI_APPLICATION = 'wsgi.application'
INSTALLED_APPS = (
    'django.contrib.admin',
    'django.contrib.auth',
    'django.contrib.contenttypes',
    'django.contrib.messages',
    'django.contrib.staticfiles',
)
STATIC_ROOT = project_root_joiner('', 'static/')
STATIC_URL = '/static/'
import os
from django.core.wsgi import get_wsgi_application
os.environ.setdefault("DJANGO_SETTINGS_MODULE", "settings")
application = get_wsgi_application()
from django.conf.urls import url
import views
urlpatterns = (
    url(r'^$', views.home, name='home'),
)
#!/usr/bin/env python
import os
import sys
if __name__ == "__main__":
    os.environ.setdefault("DJANGO_SETTINGS_MODULE", "settings")
    from django.core.management import execute_from_command_line
    execute_from_command_line(sys.argv)
from django.http import HttpResponse
def home(request):
    return HttpResponse("Hello. Welcome to Python and AWS lambda.")
touch __init__.py
uptime-checker/
    __init__.py
    manage.py
    settings.py
    urls.py
    views.py
    wsgi.py
python manage.py runserver 0.0.0.0:8080
import urllib
from django.http import HttpResponse
def home(request):
    g = urllib.urlopen("http://www.google.com")
    google_status_code = g.getcode()
    g.close()
    t = urllib.urlopen("http://www.twitter.com")
    twitter_status_code = t.getcode()
    t.close()
    return HttpResponse("""Uptime Checker. google.com status={0}. twitter.com status={1}""".format(
        google_status_code,
        twitter_status_code))
curl -sf https://up.apex.sh/install | sh
up --help
[apex-up-profile]
aws_access_key_id = myAccessId
aws_secret_access_key = myAccessKey
region = eu-west-1
mv manage.py app.py
{
    "name": "uptime-checker",
    "profile": "apex-up-profile",
    "proxy": {
        "command": "python app.py runserver 0.0.0.0:$PORT"
    }
}
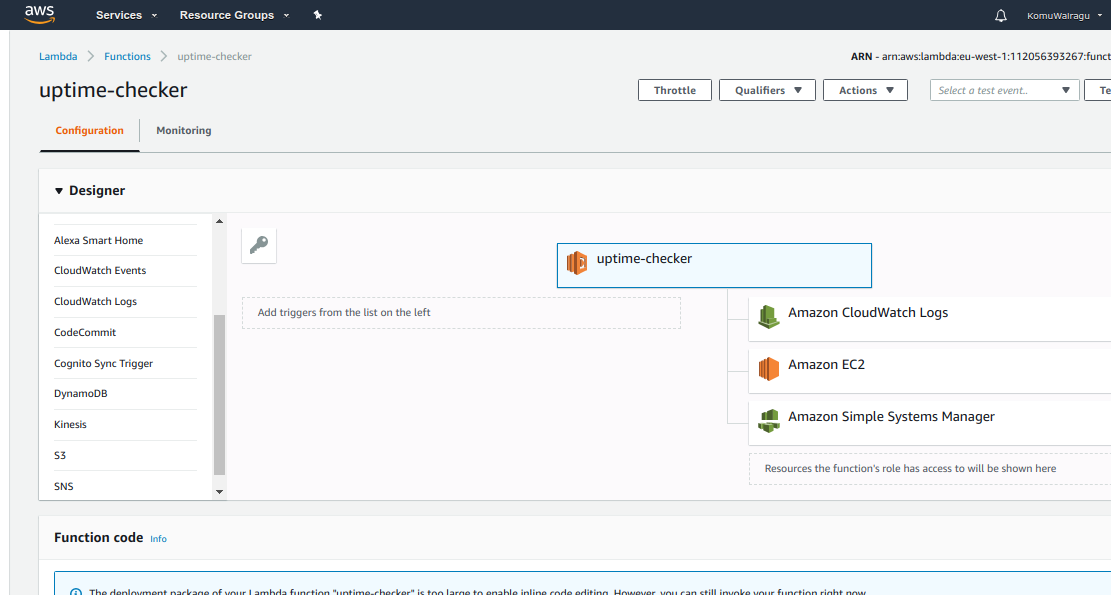
up deploy
build: 4,753 files, 14 MB (4.427s)
deploy: commit bc51169 (28.903s)
stack: complete (47.398s)
up url
 If you want to debug/introspect what is going on, you can always look at the logs of your app via;
up logs -fv
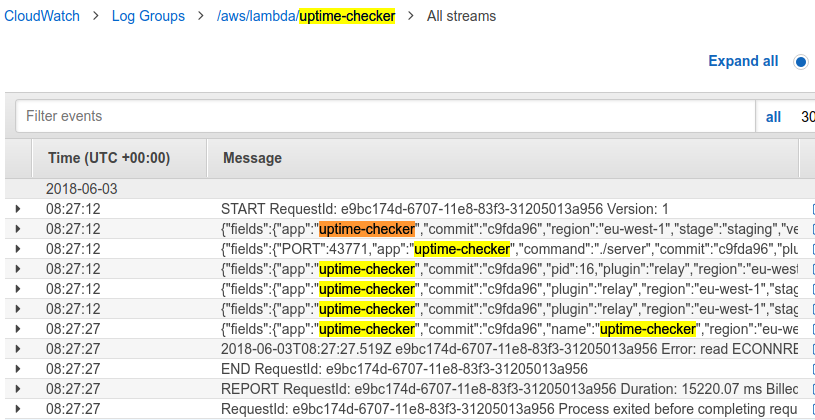 Anything you log to stdout in your app, will show up in the logs. So you can use a python logging config
like;
Anything you log to stdout in your app, will show up in the logs. So you can use a python logging config
like;
import logging
logging.basicConfig(
    format="%(message)s\n",
    stream=sys.stdout,
    level=logging.DEBUG,
)
 If you want to tear down everything that we just created,
up stack delete